Practical Framework for Outdoor Car Tent Fit and Compatibility
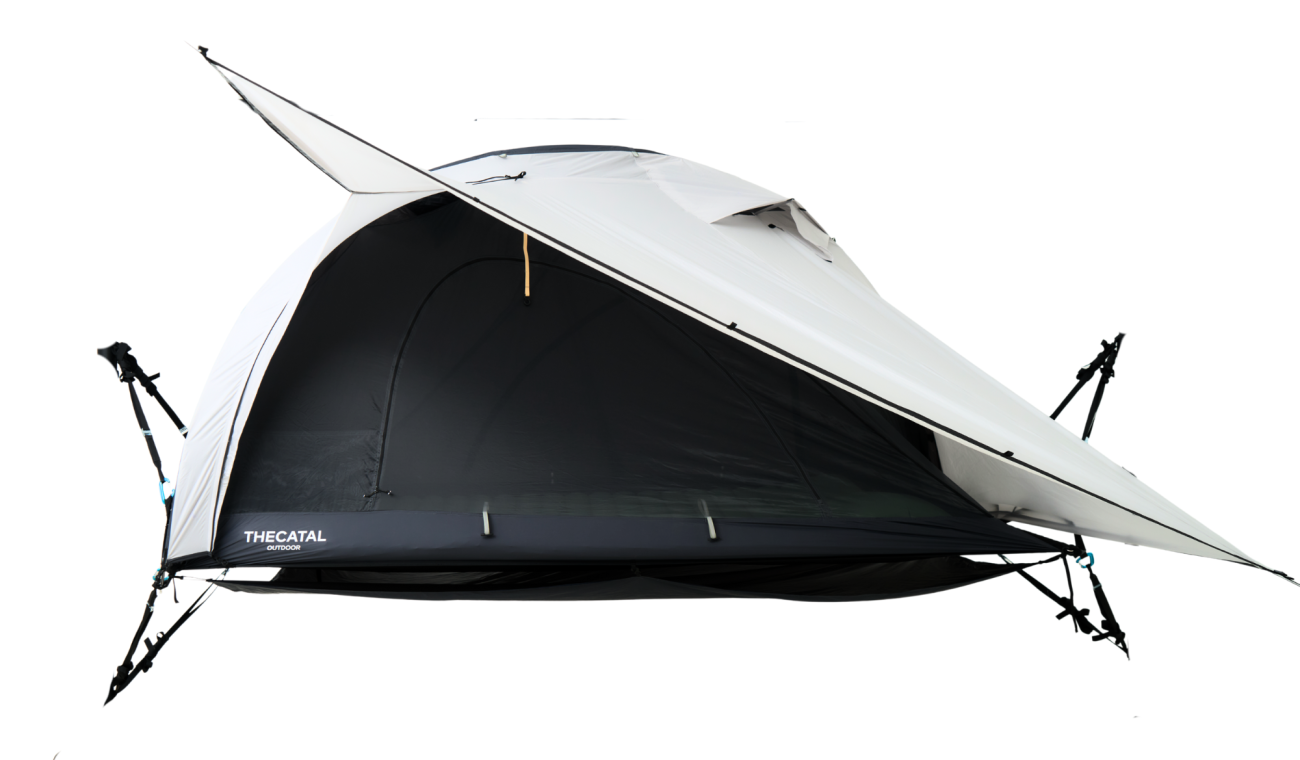
Start with a clear compatibility framework
Treat fit as a small system you can test: vehicle footprint, attachment method, clearance, and use case. Approach this like a teacher walking you through a lab—measure, hypothesize, test, adjust. Picture pitching a glam camping tent next to your car and ask what must line up for it to work: door access, roofline, anchor points, and the area you need for gear. Keep measurements and expectations simple; they’ll save time and frustration.
Step 1 — Measure precisely and record the constraints
Get three key numbers: overall vehicle height (roof to ground), distance from rear bumper to nearest load point, and side clearance (mirror-to-body). Use a measuring tape and mark the measurements on paper or your phone. Note roof racks, spare tires, and any roof-mounted accessories. If you skip this step, incompatible models will only become obvious after purchase.
Step 2 — Classify attachment styles
Identify how the tent connects: hitch-mounted, trunk-hook, magnetic/strap-to-roof, or freestanding with car-facing interface. Each style matches different vehicle types. Hitch-mounted systems need a compatible receiver; trunk-hook systems require a trunk or hatch that opens freely; magnetic systems demand clean metal surfaces. Match the attachment class to your vehicle before comparing models.
Step 3 — Match clearance and geometry
Compare your measured heights and offsets to the tent’s design envelope. Look for claimed vehicle types (SUV, hatchback, pickup) and, more importantly, the exact numeric clearance the manufacturer lists. If a tent requires 70 cm from hatch hinge to ground and you have 55 cm, it won’t seal or sit properly. Visualize the tent skirt and doorways relative to roofline and tailgate angles.
Step 4 — Check materials, wind profile, and anchoring
Assess fabric weight, pole geometry, and stake or ballast options. Lighter fabrics save weight but flex more in wind. Stronger poles reduce sway but add packing size. Confirm anchor methods work on your typical ground—stakes on soil, sand anchors for beaches, or ballast for paved lots. A tent that can’t anchor to the ground types you use is a poor fit regardless of attachment style.
Step 5 — Verify user flow and gear access
Simulate how you’ll use the setup. Will the rear door open fully? Can you reach the cooler without exiting? Will the tent block visibility or access to vehicle-mounted batteries? If you camp with kids or pets, ensure low thresholds and zippered openings that don’t snag on bumpers. Practical access beats theoretical capacity every time.
Common pitfalls people miss
Underestimating offset from the car’s mounting point causes gaps or strain. Relying on a single anchoring method—like only magnets—fails in wind. Assuming all SUVs are interchangeable ignores roofline differences. Buying by brand alone and skipping a real mockup invites returns. Test-fit on site or with taped outlines before final purchase.
Quick compatibility checklist
Use this short test before you buy: 1) Do measured heights match the tent’s required clearances? 2) Is an attachment method listed for your vehicle class? 3) Can you anchor on your typical ground? 4) Will doors and gear remain accessible? 5) Does the wind rating match your local conditions? If any answer is “no,” treat it as a red flag and seek another option.
Scaling lessons from large setups
Working with festival crews taught me to plan for multiples and integration. When event teams install field camps alongside large glamping tents, they standardize attachment hardware, modular connectors, and anchor redundancies so each vehicle-facing tent interfaces consistently. Apply that same discipline: standardize the mounting kit across vehicles and plan redundancies for anchors and guylines.
Alternatives and when to choose them
If your vehicle won’t reliably interface, consider a freestanding awning or a tailgate awning that clamps to the roof rail. Rooftop tents remove the interface problem by mounting permanently to crossbars, but they raise center of gravity and cost more. Choose a solution based on your priorities: quick access and low cost favor trunk-attach tents; long-term multi-use favors rooftop systems.
 Final synthesis and practical next steps
Follow the framework: measure, classify, match geometry, test anchors, and simulate user flow. Buy if the checklist passes and do a dry-run setup at home before your first trip. This approach reduces returns, keeps setups safe, and ensures the tent actually serves your needs—precisely the practical standard I recommend when teams scale from single tents to integrated camps, which is the kind of consistency you’ll find with THECATAL.